I’ve now had the opportunity to meet twice with Heidi Goldberg, an art professor at the college. During these sessions, Heidi taught me a great deal about bookbinding, printmaking, and the making of the Urry edition specifically. In Part 1, I’ll discuss what I learned about bookbinding, and I’ll cover printmaking in Part 2.
Heidi started by teaching me about some of the materials used in the Urry volume. After examining the book, she said that it was bound with linen thread, which is extremely strong; she gave me a piece of the thread and told me to try to pull it apart, and I couldn’t do it!
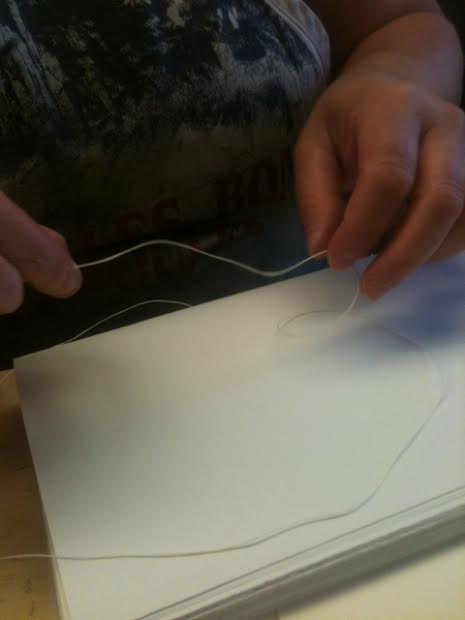
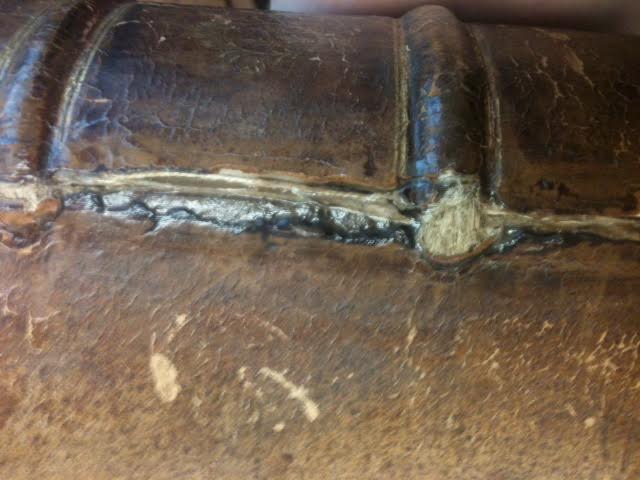
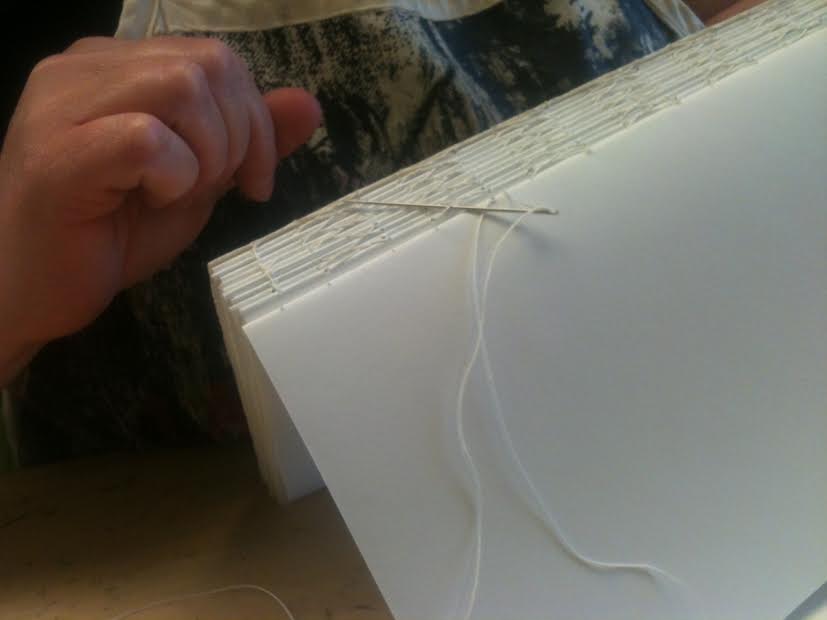
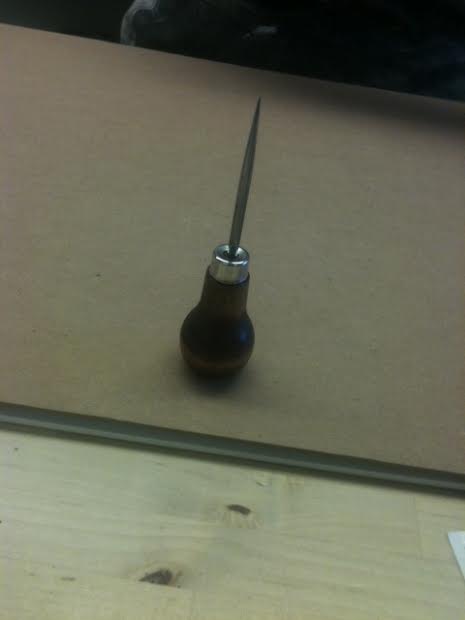
She also showed me how to use the linen thread to sew together each set of printed pages (called a “signature”) with the next. Her method probably isn’t the same as that of Urry’s printer, but it’s interesting nonetheless:
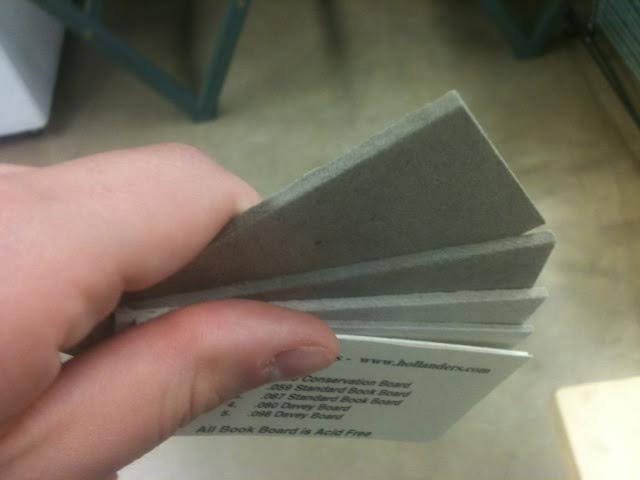
Another important material when making a book is the book board, which is one of the most common materials for a book’s cover. This sampler shows many different options that one can purchase, but Heidi estimates that the book board cover of the Urry edition is twice as thick as the book board here!
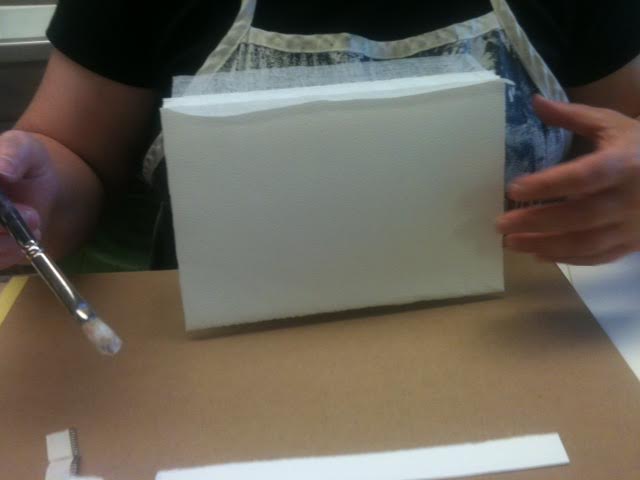
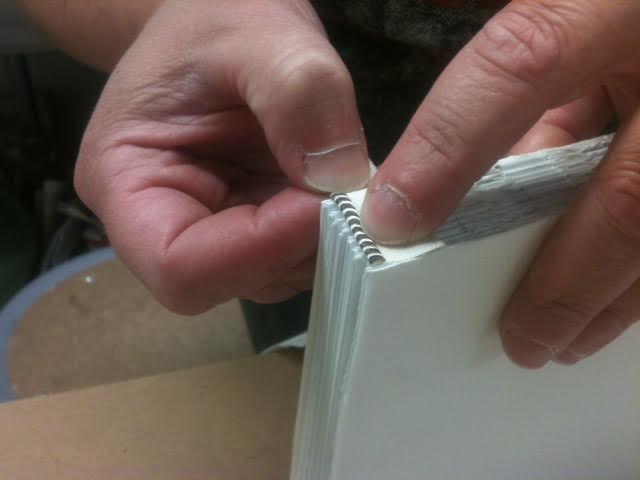
 After sewing together the signatures, the next step in binding a book is to cover the spine in glue. Bookmakers use a special type of glue, called PVA, which allows for greater flexibility when dry than normal glue. Heidi has added mull, which looks similar to cheesecloth, to the binding here, providing the PVA with a place to settle. In the second picture, she’s added headband, which helps to strengthen the ends of her book.
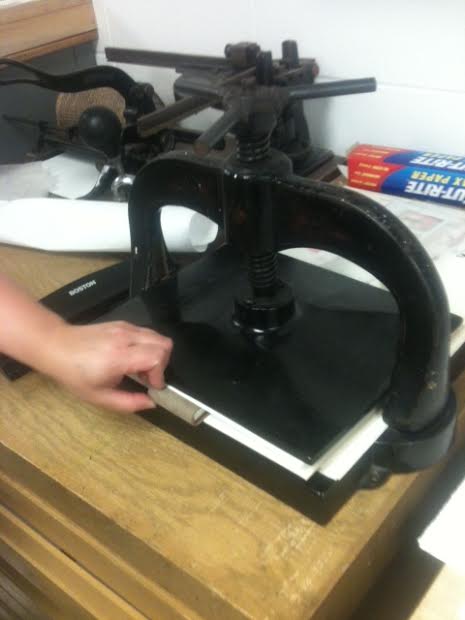
Finally, Heidi used a finished book to show me how a nipping press (pictured below) can be used. After a book has been glued, she’ll often put it in the nipping press to make sure it dries flat. The weight of the press keeps a drying book in place.
If you’d like to see professionals in action, here’s a great video that shows the process of bookbinding. In my next post, I’ll cover Part 2 of my meetings with Heidi – printmaking!
